I have to admit that I spent far too much time stuck in the face of French bread. I’d read that it was really hard, and it never seemed to be the right time to make it. But I finally got to it last week.
Once again, this is a bread that needs to be started the night before. the pane fermente must be put together, given a good kneading, and then refrigerated overnight. The effect of this overnight refrigeration is to let the yeast beasties eat up the sugars surrounding them and then offgas alcohols and other byproducts, and then for those to just sit there in the quiet of your cold bread and stew a bit.
Yes, the rich taste of good breads is pretty much reliant on yeast farts.
ANYway, in the morning, about an hour before your ready to begin throwing the bread around, you must remove the pane fermente from the fridge, chop it into about 10 pieces, then cover it and leave it to warm up a bit:

After an hour, measure out the rest of the ingredients, plop in the fermented dough, and begin kneading. This is a 10 minute process if done by hand, and I love the way the dough transforms under my hands from a sloppy, ragged mess to something smooth and elastic.
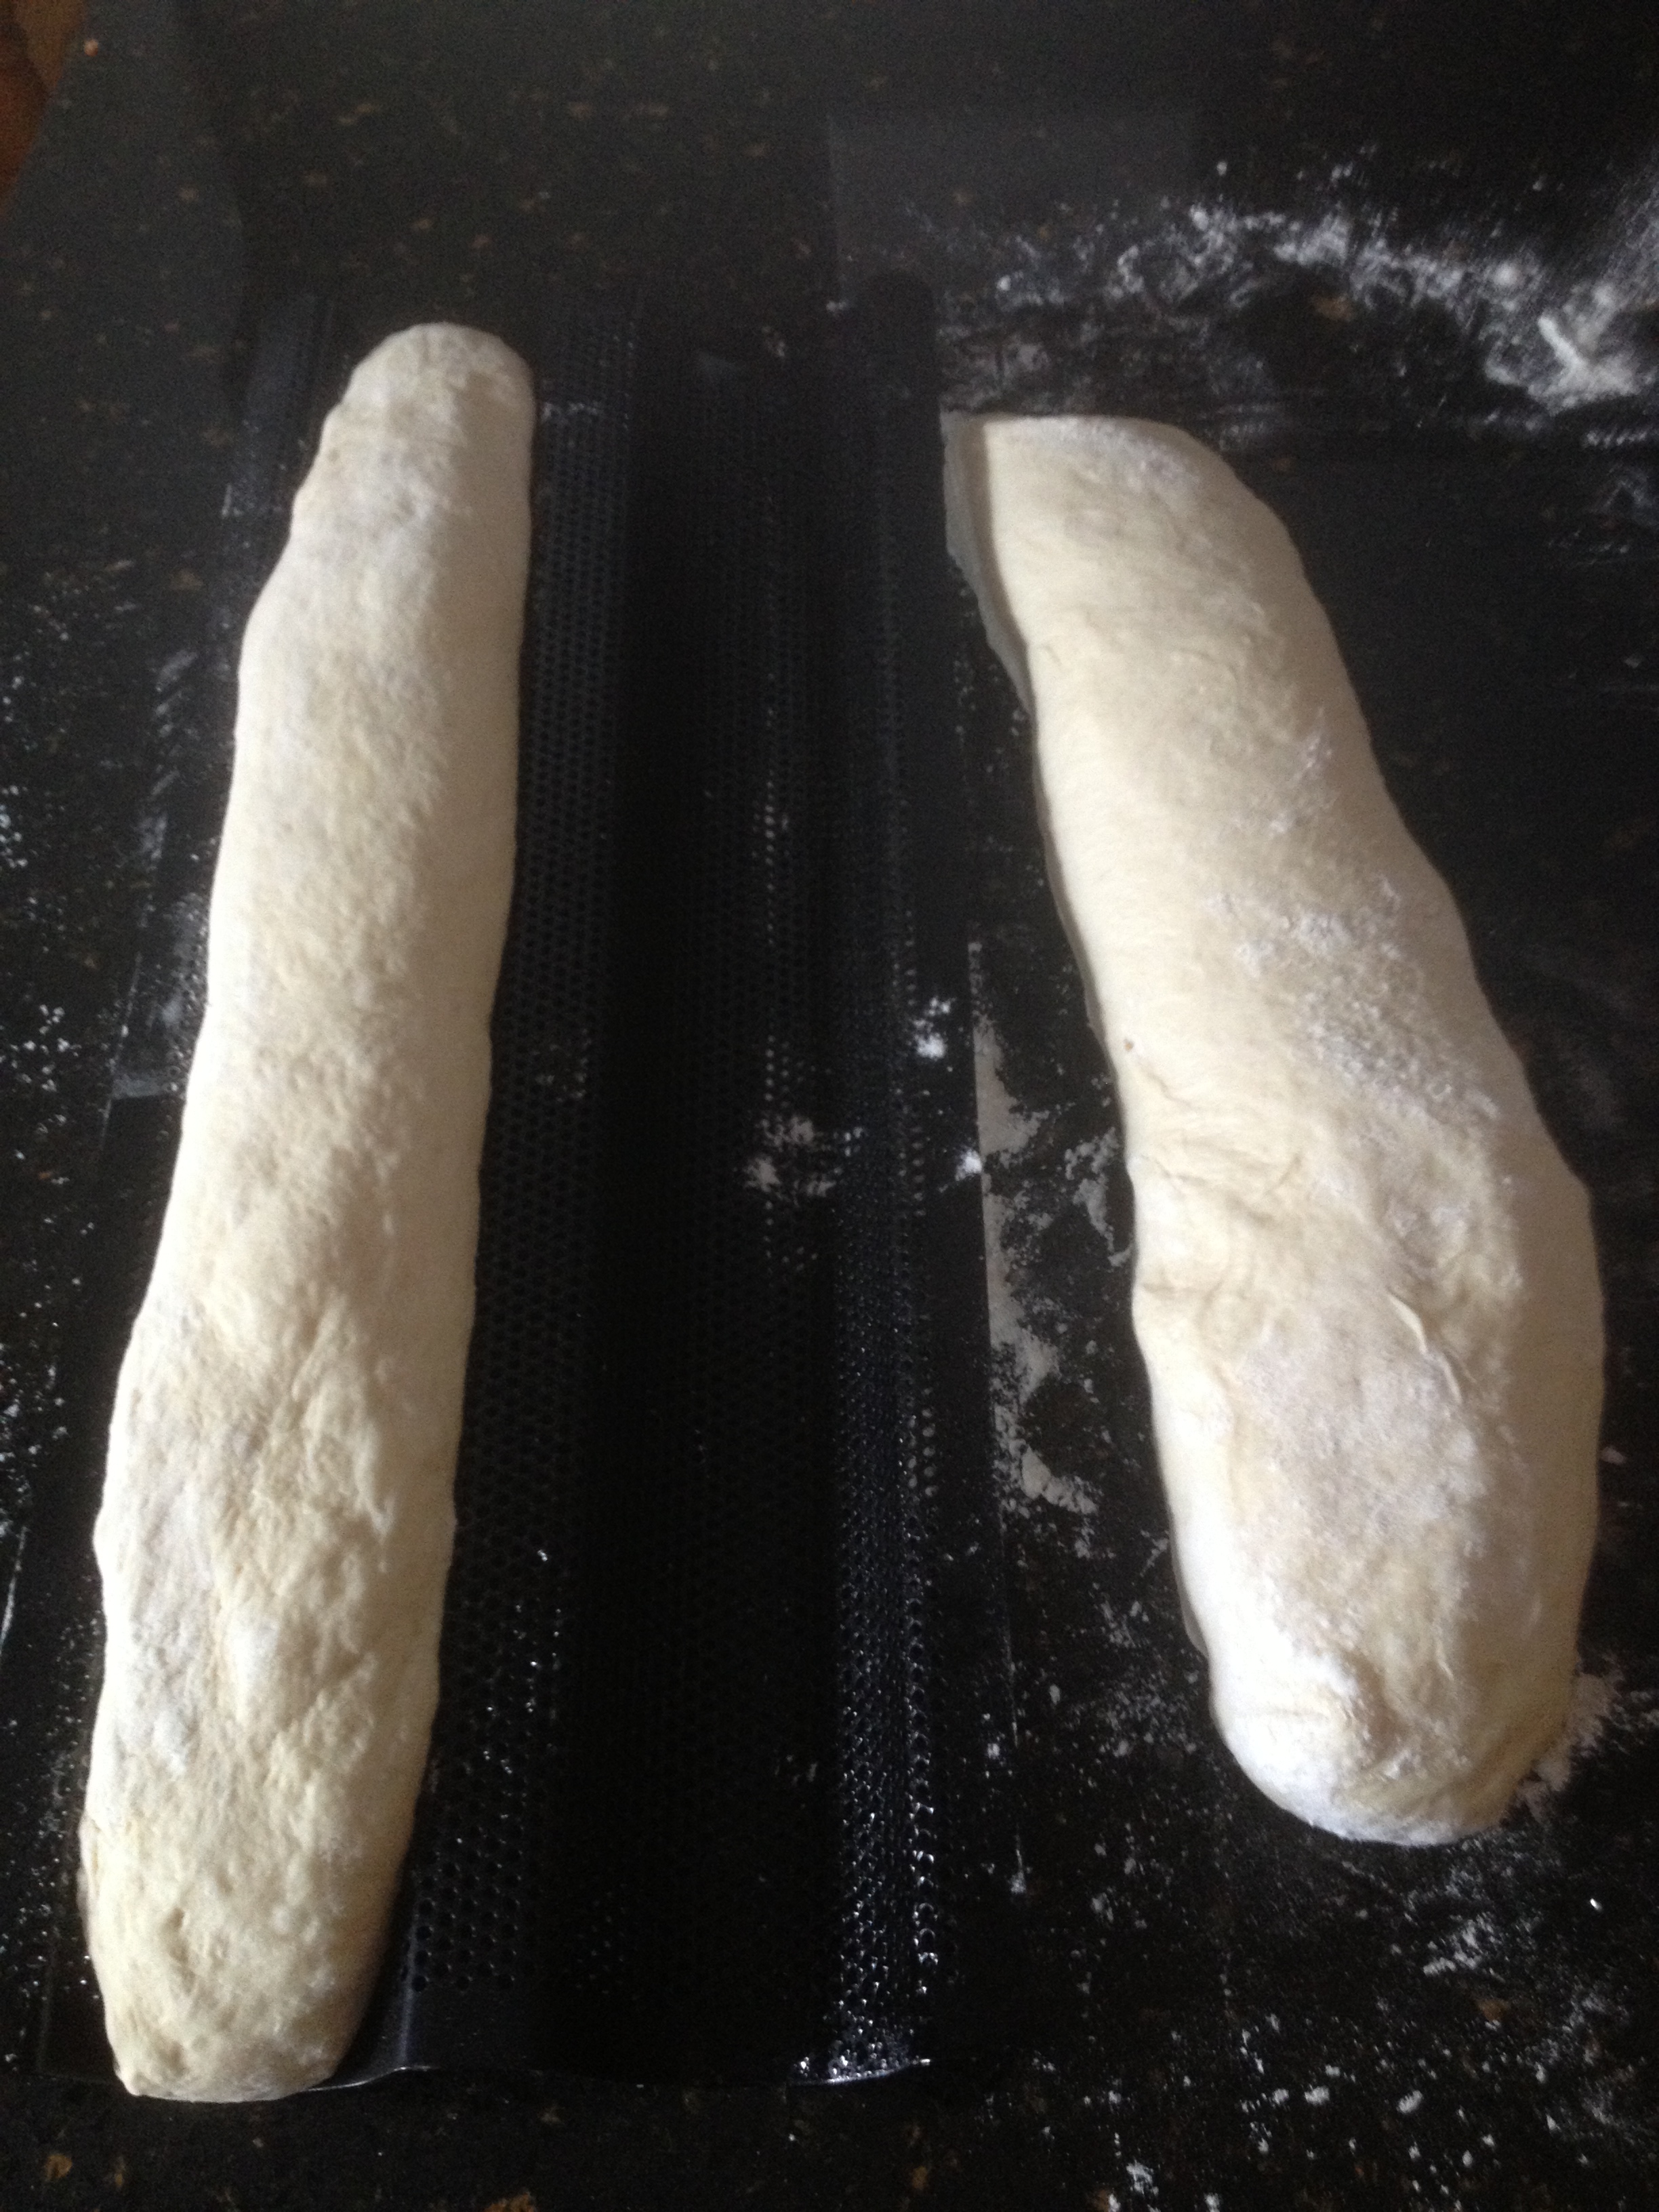
Into an oiled bowl to rise for two hours. If it rises too high in that time, degass it done to a small ball and continue the rising time. Then turn it out on a well-floured counter:

Divide it into two or three even segments. I chose two, because my French bread pan has two segments.
 di
di
Shape the clumps into loaves.

There are fussy instructions about stretching and curving around and pinching to stretch the outer skin of the bread. I did that with one, didn’t with the other, and couldn’t tell them apart.
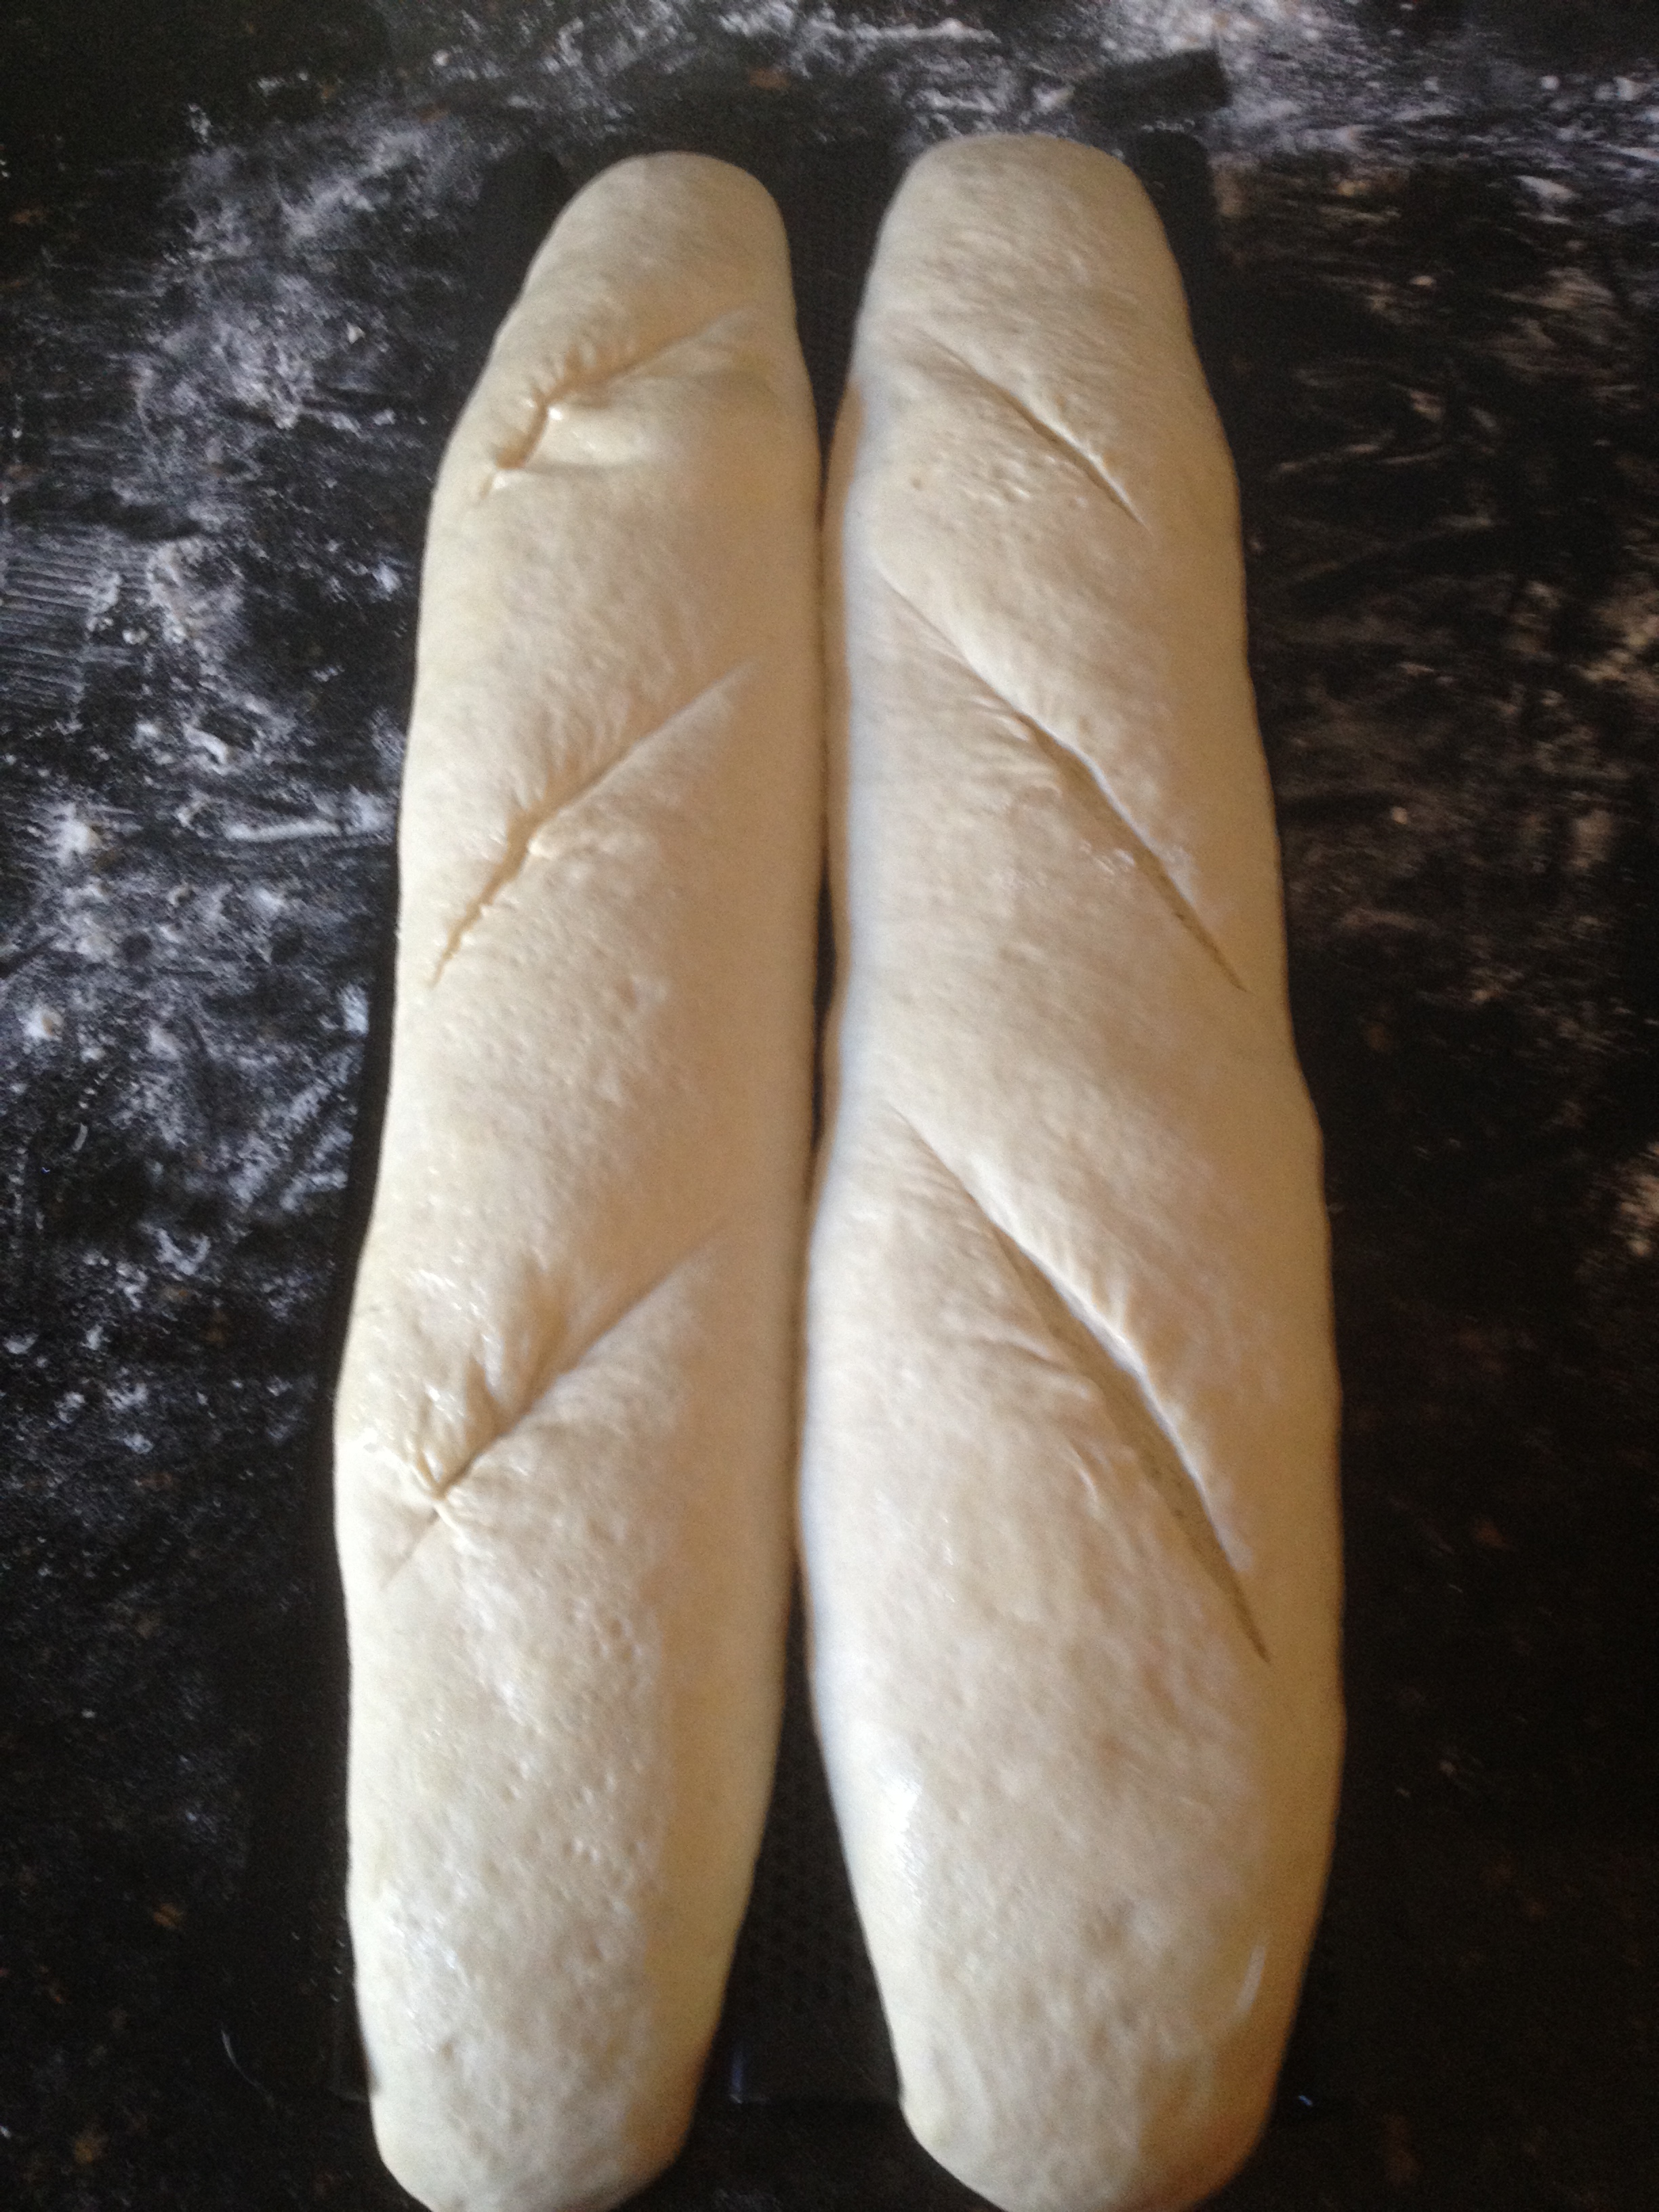
Move them onto your loaf pan or do the whole couche method of heavily floured cloth pinched up between the loaves to separate them. I chose the pan because then I don’t have to be touching them again and risk deflation.
Cover and let rise again.

And when they are all nice and puffy give them a slash to help with oven spring, then into the 500 degree oven with a cup of water poured into a pan before them to create steam.
There are no pictures of me pouring boiling water into a 500 degree jelly roll pan. Because good grief. Most of the steam escaped by the time I was able to close the oven. I think the next time I might try to figure out some kind of Mythbusters trick wherein I use a metal cup and a string, and pull the cup over just as I’m closing the oven. I would be able to rescue it in a very short time, because 30 seconds after the initial steaming, you need to crack the oven door and mist the inside of the oven. You do this three times.
After that, the baking time is about 25 minutes. And they do spring nicely in the oven.
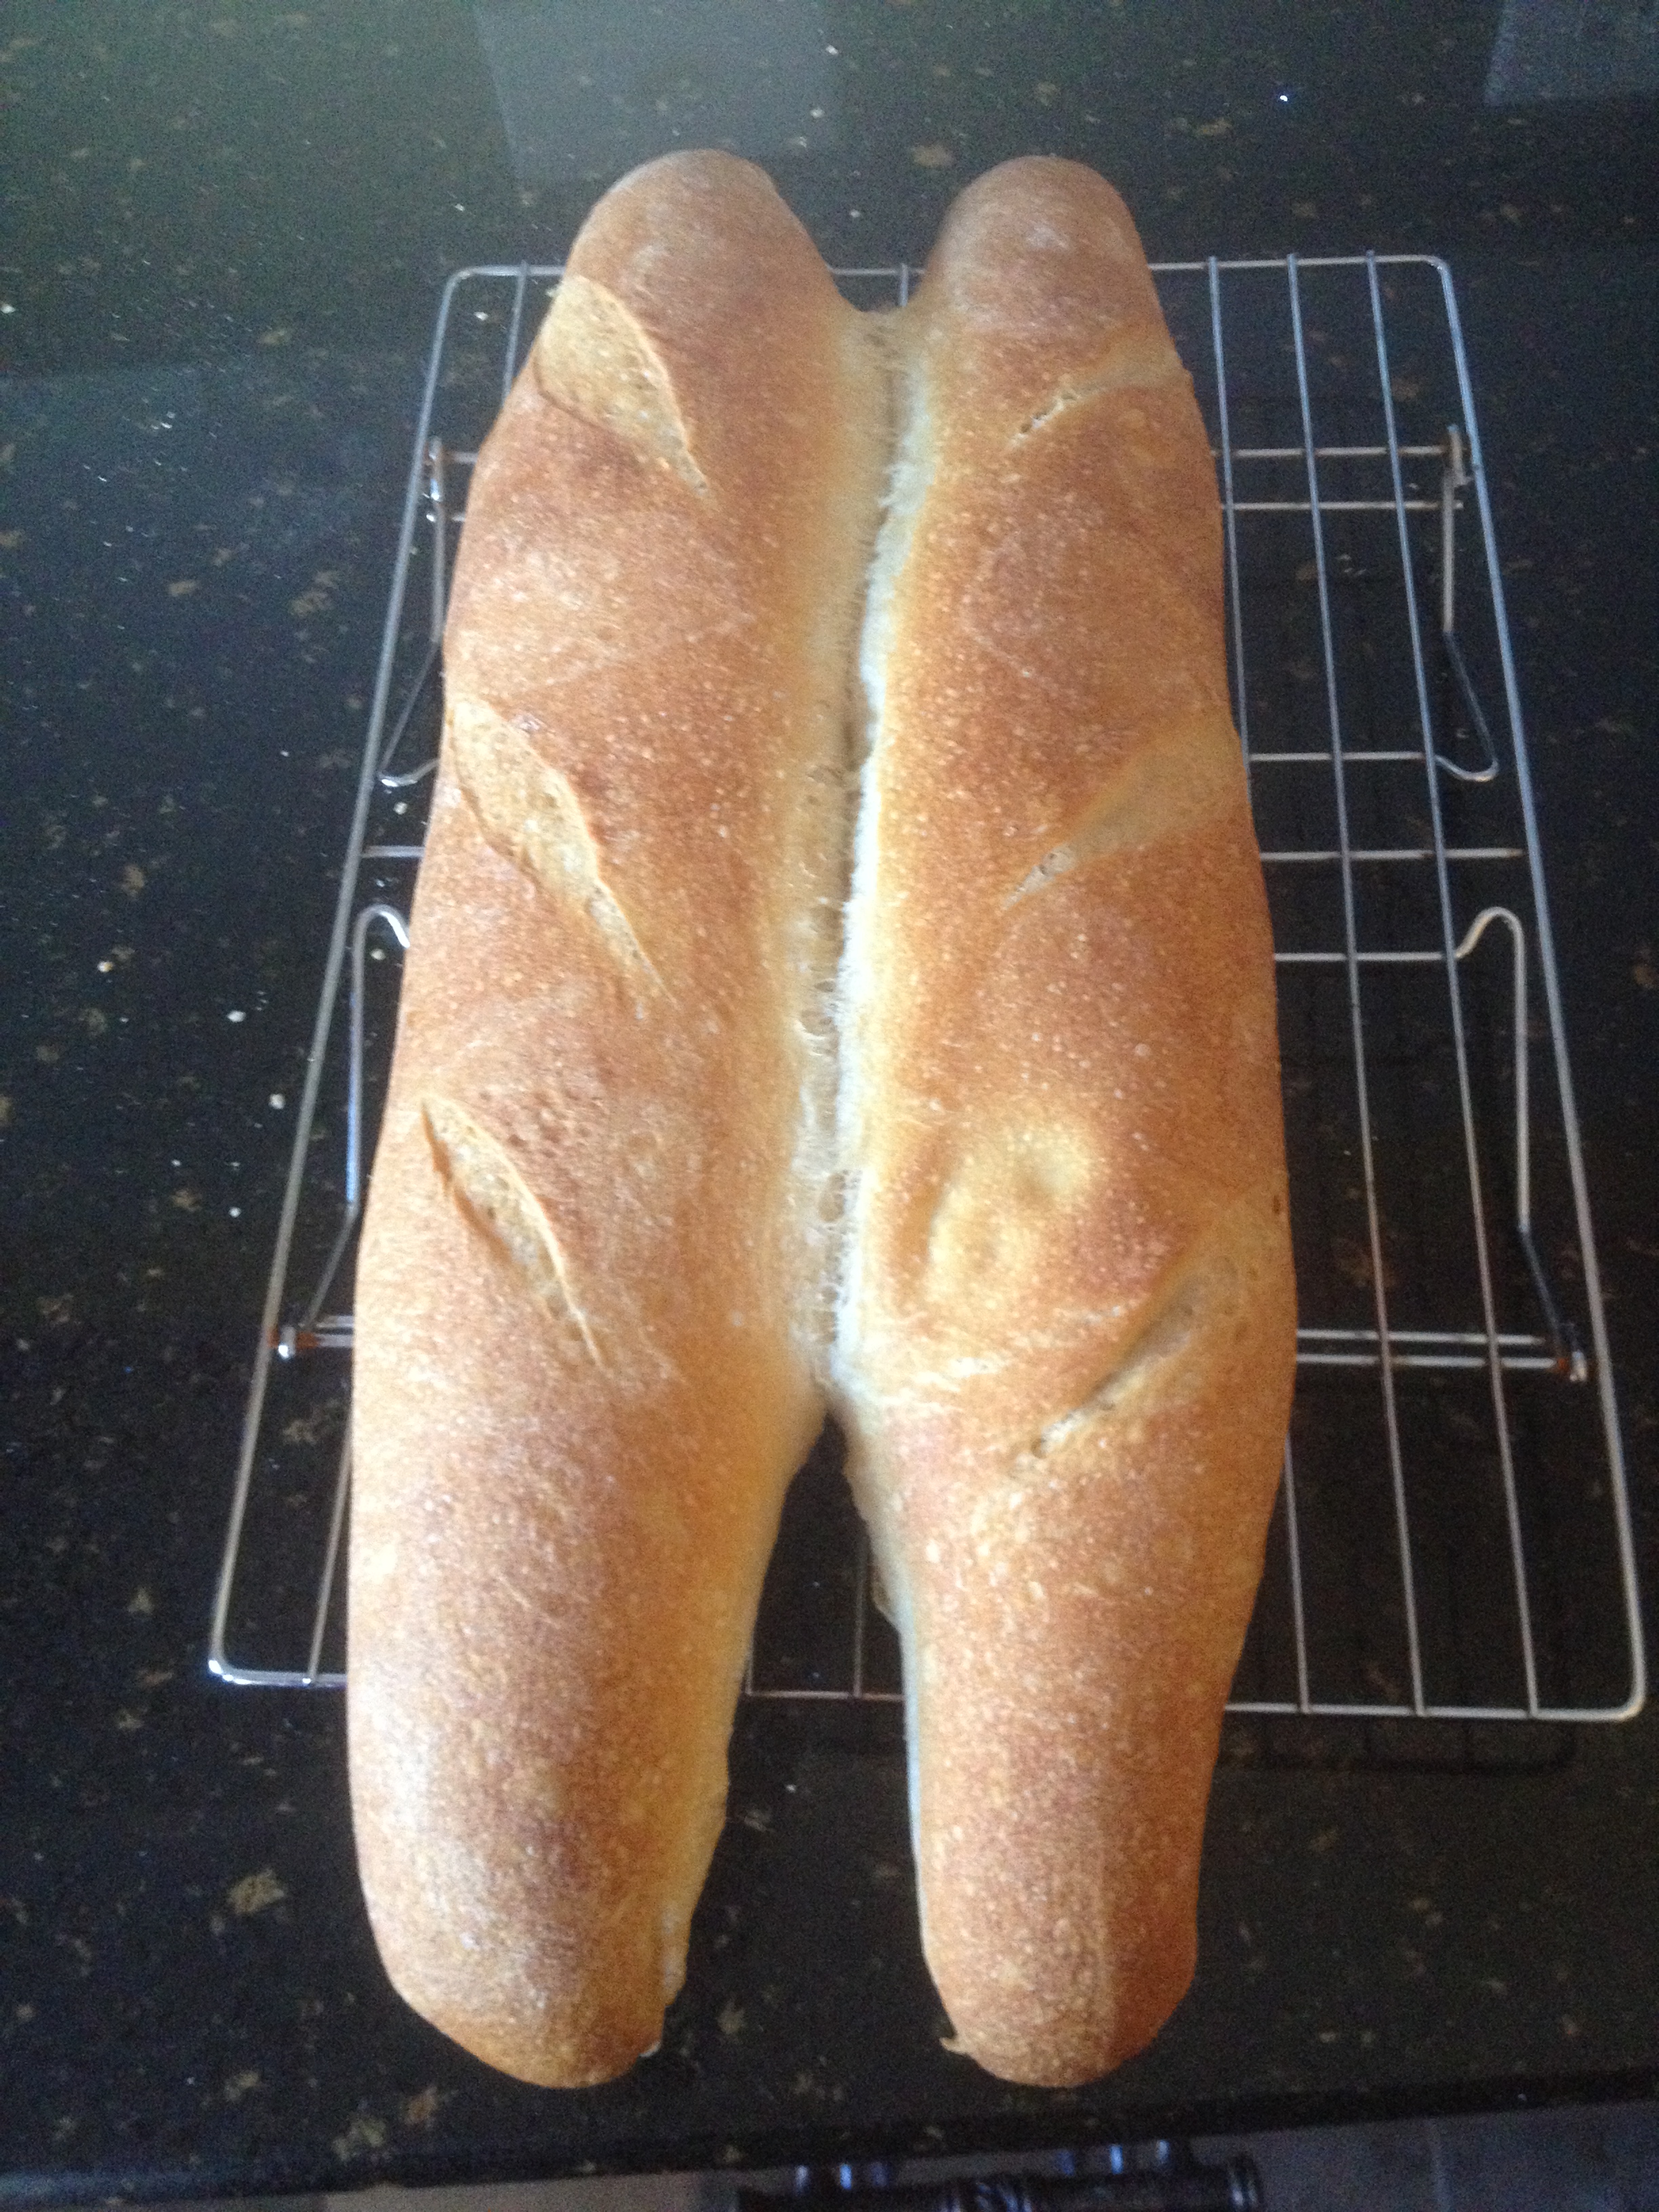
I have conjoined bread.
They weren’t hard to separate, and when they cooled and we cut them, this is what we got:
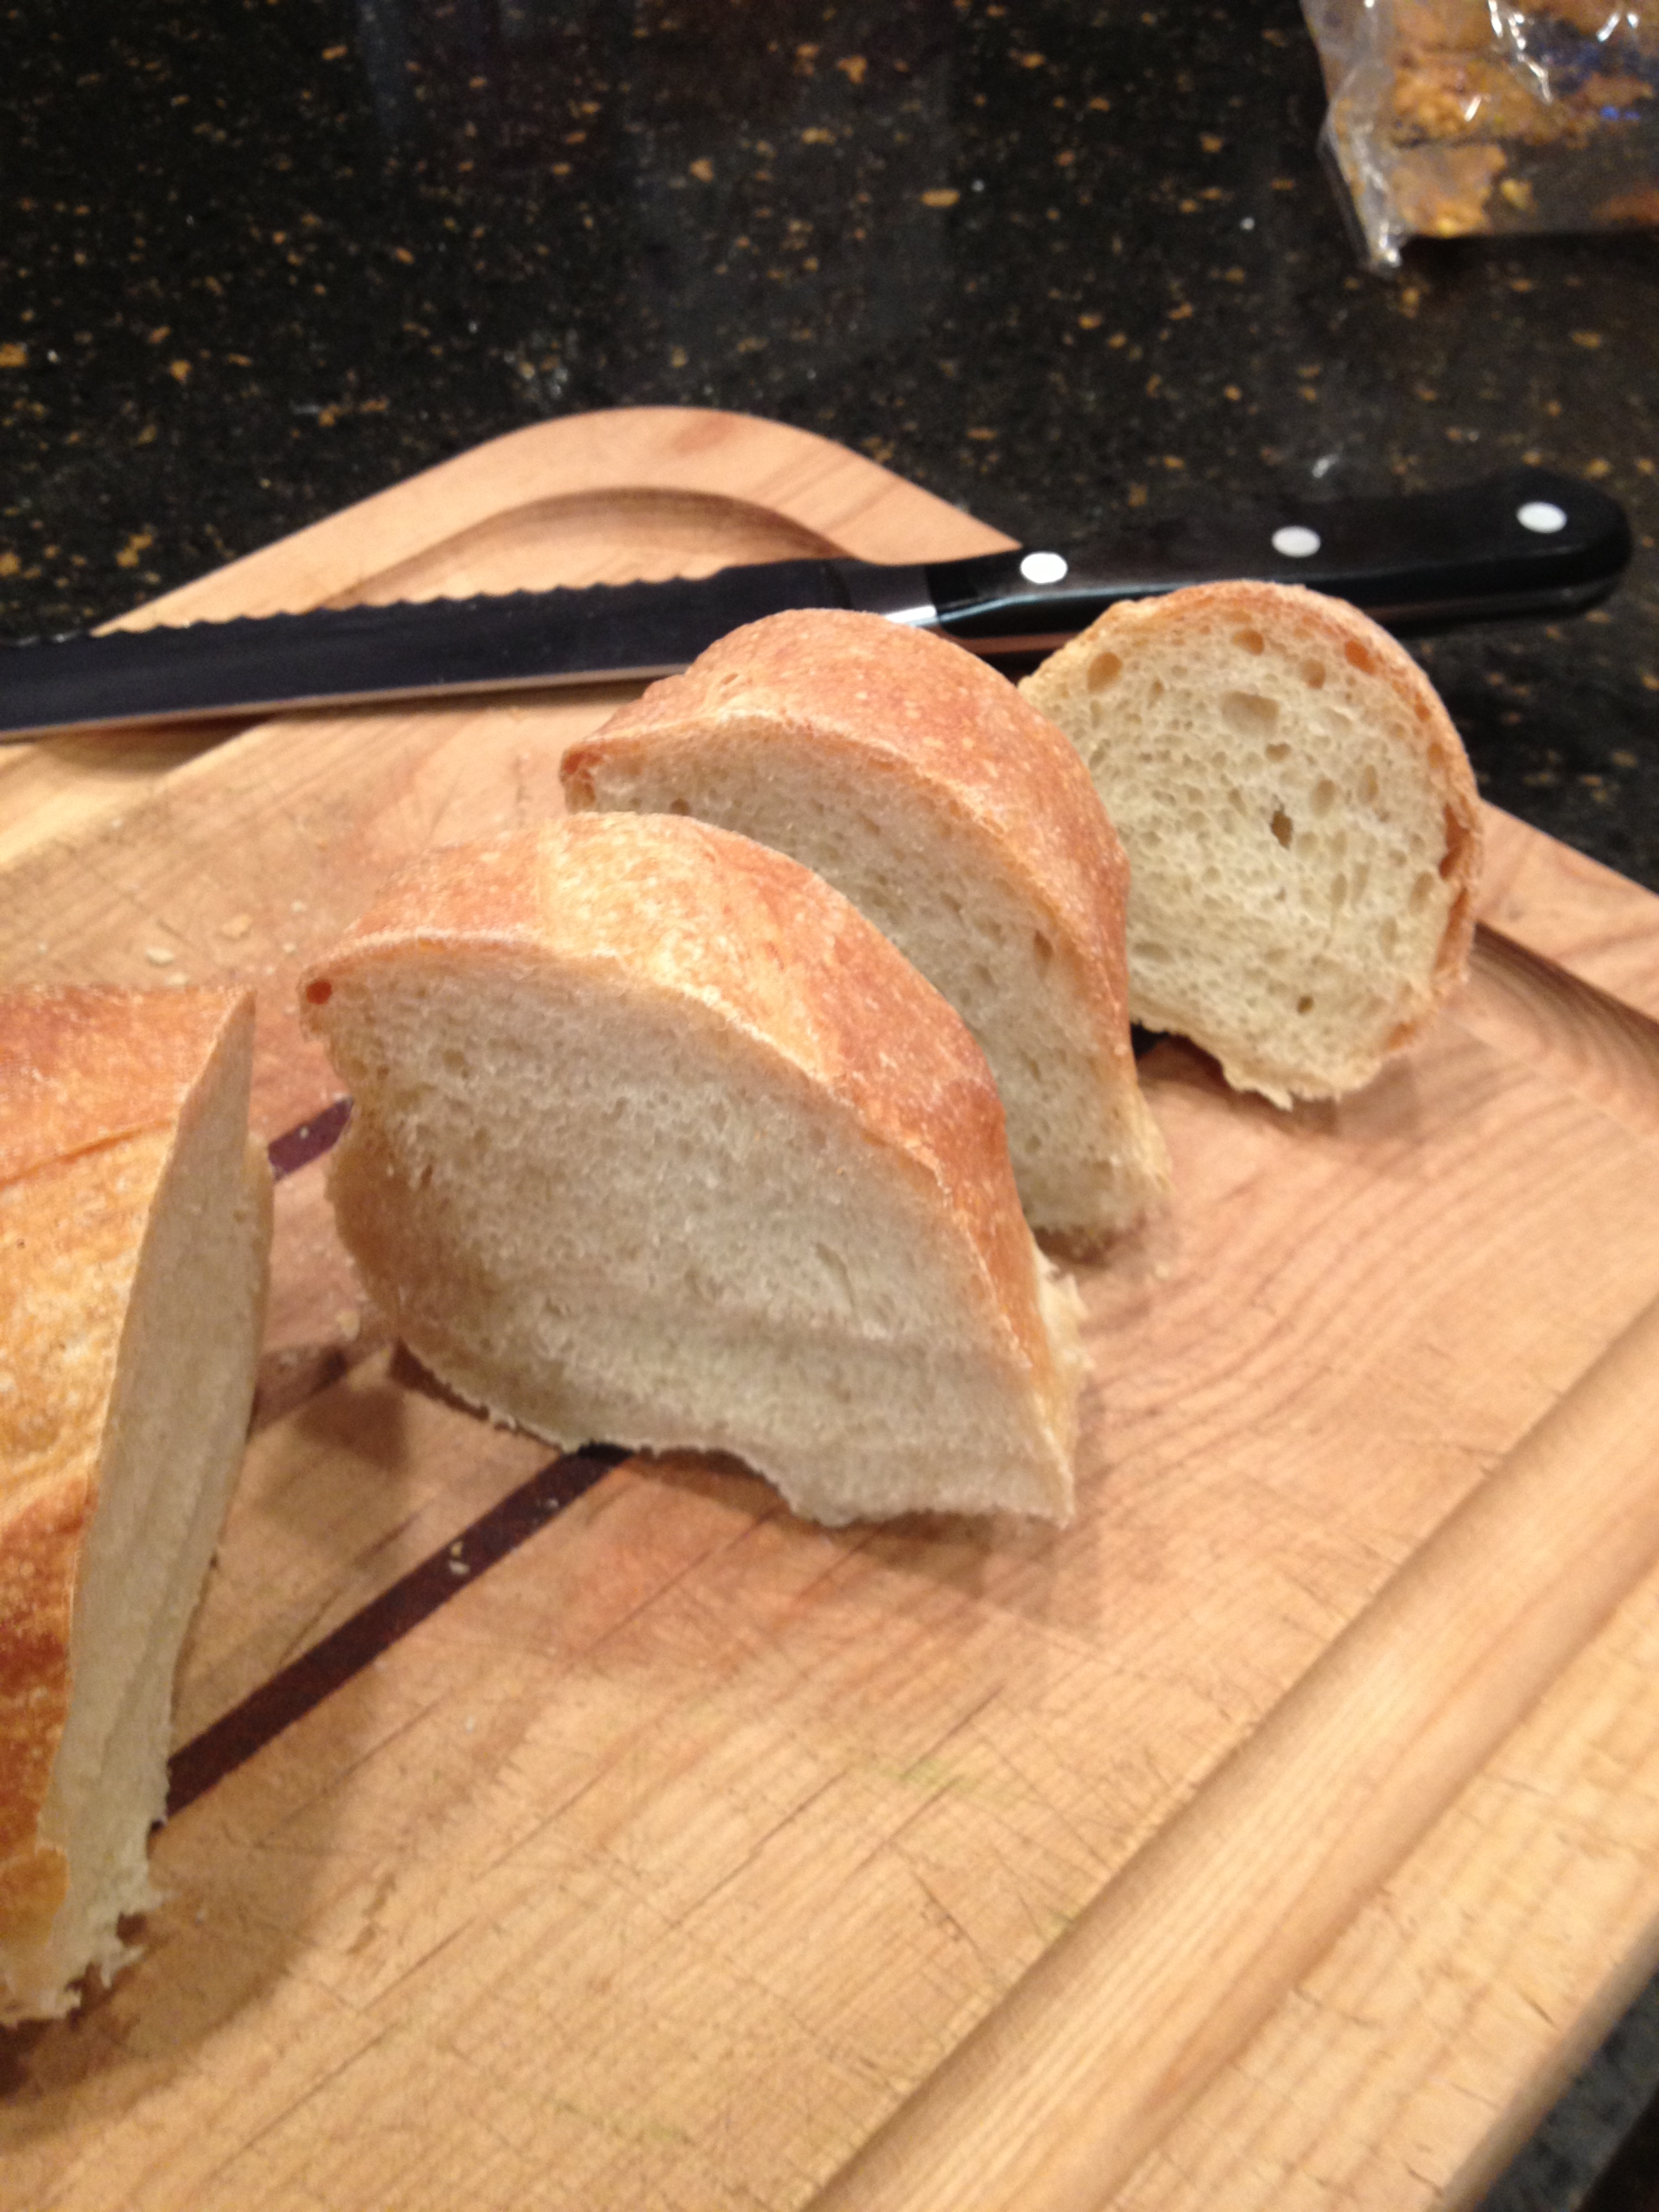
The crumb was a little denser than I would have liked, and I think that next time I will give them an extra 10 minutes in the final rise. But the flavor was delicious. The crust was thin and crisp, and the crumb creamy. Dipped in olive oil, it was out of this world. Definitely a keeper.
